How to Design a Residential Drainage Inspection Network for Monitoring Underground Water Flow
Underground drainage is the part of a home nobody thinks about until it fails, and by then the failure is expensive. A slow drain, a damp patch in the garden, or a smell near a floor drain can each be the first sign of a pipe that has bellied, cracked, or filled with roots. A residential drainage inspection network turns that guesswork into a system: mapped lines, known access points, regular camera inspections, and a written record of how water moves under the property.
A residential drainage inspection network is a planned set of access points, mapped pipe runs, inspection methods, and monitoring routines that lets a homeowner check underground water flow without excavation. It combines cleanouts, inspection chambers, camera surveys, flow tests, and simple sensors into one routine, so problems are found while they are small and repairs are aimed at the right place.
Your Underground Drains Are a Network, Not a Mystery
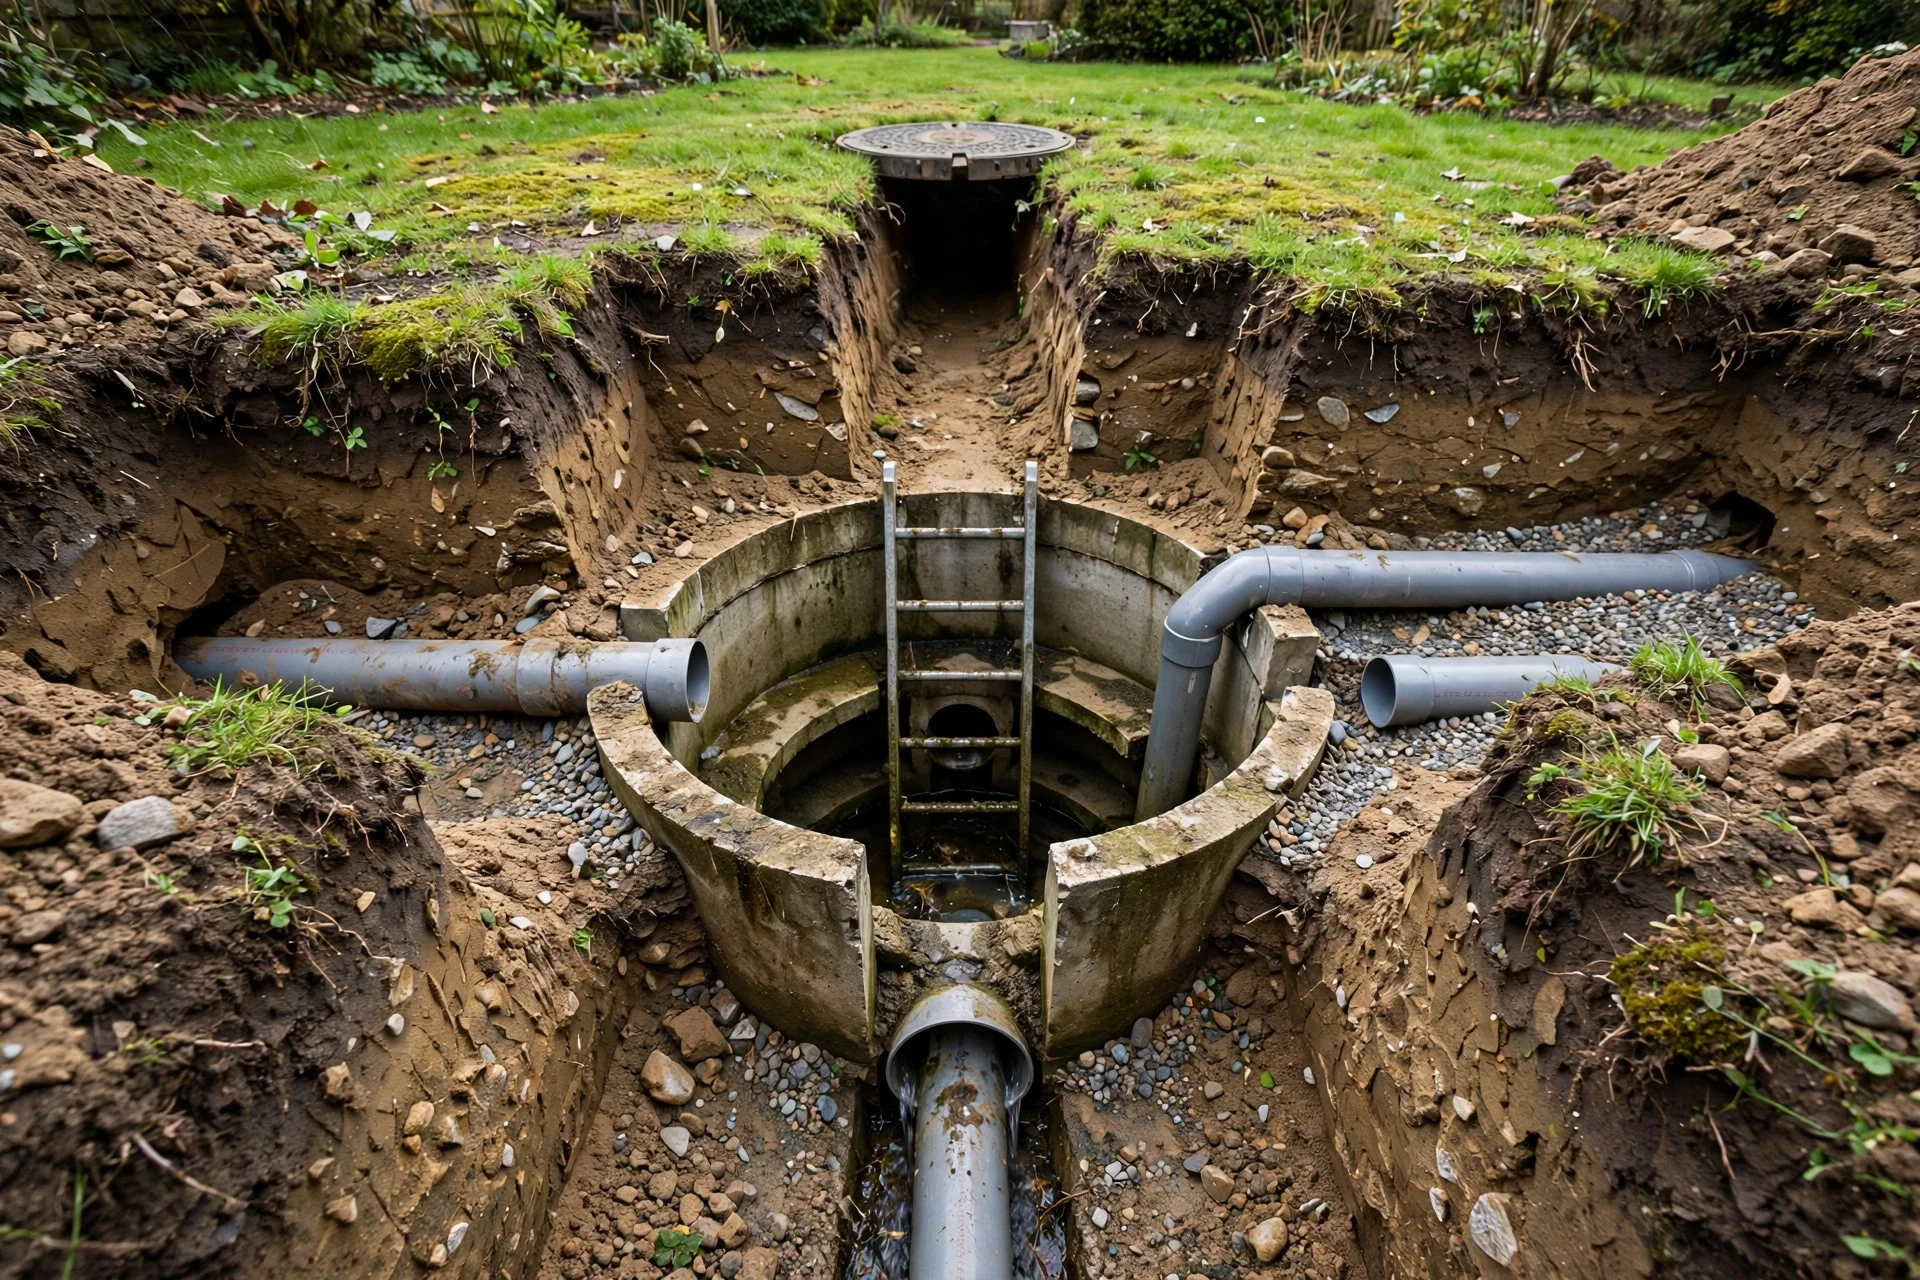
Every home has more underground drainage than its owners realise. The sewer lateral carries wastewater to the street or the septic tank, the stormwater pipes carry roof and surface water to the kerb or a soakaway, and the foundation drains carry groundwater away from the footings. These are separate systems, but they share the same risks: roots, settlement, blockages, and joints that open over time. Treating them as one network, with one map and one inspection routine, is what makes the system manageable.
The cost of not knowing is what drives the design. A sewer lateral repair can run into thousands of dollars, and a collapsed stormwater pipe can flood a garden or undermine a driveway before anyone notices. A camera inspection, by contrast, typically costs a few hundred dollars and takes under an hour. The network exists to make that cheap, fast check possible at any time, from known access points, with a record of what was found last time.
What a Residential Drainage Inspection Network Actually Includes
A complete network has five parts, and each one answers a different question. The map shows where every pipe runs, how deep it is, and where it connects. The access points, cleanouts and inspection chambers, are the doors into the system. The inspection methods, camera surveys and flow tests, check the inside of the pipes. The monitoring routine, sensors and scheduled checks, catches change between inspections. And the record, a written log with video and photographs, turns a single inspection into a history.
No part works alone. A map without access points is a drawing nobody can use. A camera without a map cannot say where a defect sits. A sensor without a record cannot say whether a reading is normal or new. The network is the combination, and it should be designed as a whole, even if it is built in stages. Start with the map and the access points, add camera inspections next, and add sensors only where the history shows they are needed.
Mapping Every Line, Pit, and Cleanout Before You Dig Anything
The map is the foundation of the network, and it should be drawn before any digging starts. Gather what already exists: the original building plans, the local authority drainage records, and any previous plumber's notes. Then walk the property and mark every visible feature: cleanout caps, chamber covers, downpipe connections, and gully grates. A simple sketch, drawn to scale, is enough to start.
- Mark every cleanout, chamber, gully, and downpipe connection on the sketch.
- Note the pipe material and diameter at each access point where it is visible.
- Record the depth of each chamber invert from the cover to the pipe.
- Draw the direction of flow with arrows, from the house to the street or soakaway.
- Keep a copy of the map with the house records and one in the inspection log.
Depths and directions matter more than pretty lines. A camera operator who knows the depth and the flow direction can locate a defect from above ground, mark the exact spot, and tell the homeowner how deep the dig will be before a shovel is lifted. Without that information, the same defect means exploratory digging, a larger hole, and a larger bill. The map is the cheapest part of the network and the one that saves the most money.
Camera Inspections: Reading What the Lens Shows Underground
A sewer camera inspection sends a small waterproof camera on a flexible cable through the pipe, from the cleanout to the city tap or the septic tank, recording video as it goes. The technician watches the footage live on a monitor, and the homeowner gets the full video plus a written report with the footage noted at each finding. A standard residential lateral takes about 30 to 45 minutes to scope, with no digging and no damage to the property.
| What the camera finds | What it means | Usual next step |
|---|---|---|
| Root intrusion | Roots entered through a joint or crack | Cut roots, then reline or repair |
| Pipe belly | A low spot where water pools | Monitor, or regrade if severe |
| Cracks and offsets | Pipe damaged or shifted | Repair or replace the section |
| Scale and buildup | Narrowing from deposits | Hydro-jet cleaning |
| Collapsed section | Pipe has failed structurally | Excavate and replace |
The camera has limits, and an honest operator will state them. It cannot see through standing water, so a fully blocked line must be cleared before it can be scoped. It cannot judge the soil around the pipe, so a sound-looking pipe in bad ground can still fail. And it shows the condition on the day of the inspection, not a guarantee of future performance. Used with those limits in mind, the camera is the most useful tool in the network, because it replaces guessing with seeing.
Flow Tests That Reveal Bellies, Blockages, and Broken Joints
A camera shows the inside of the pipe; a flow test shows how the pipe behaves. The simplest test is a dye test: coloured water is run into a fixture or a gully, and the time it takes to appear at the next access point shows whether the line flows freely. A slow arrival means a partial blockage or a belly. No arrival at all means a break or a complete blockage, found without a single hole being dug.
More formal tests add numbers. A drain survey can measure flow rates at each chamber, compare them with the design capacity, and show where the system loses performance. A CCTV survey combined with a sonde locator gives the depth and position of every defect, so a repair crew can dig one precise hole instead of trenching the whole run. Flow tests also check a repair: run the test before the work and after it, and the numbers prove whether the fix worked.
Sensors and Gauges That Watch Water Levels Between Inspections
Cameras and flow tests are snapshots; sensors watch between them. A water level sensor in an inspection chamber can report a rising level that means a blockage is forming, long before water backs up into the house. A simple float alarm in a sump or a basement floor drain does the same job for less money, sounding when water rises past a set point. Rain gauges can show whether a heavy storm overwhelmed the pipes or whether they were already partly blocked.
- Float alarms in sumps and basement drains for early warning of backups.
- Level sensors in inspection chambers to track slow changes over time.
- Rain gauges to separate storm overload from an existing partial blockage.
- Flow meters on pumped lines to catch a failing pump before it floods.
- Simple dipsticks and marked gauges where electronics are not wanted.
Sensors do not need to be complicated or expensive to be useful. A marked dipstick in a chamber, checked monthly, tells a homeowner whether the water level is creeping up over the seasons. A float alarm costs little and wakes the household before a backup becomes a flood. The point is not to instrument every pipe, but to watch the places where a failure would hurt most, and to check the readings on a schedule rather than waiting for a smell or a puddle.
Building an Inspection Schedule That Matches Your Soil and Trees
Not every home needs the same inspection rhythm. A new home with plastic pipes in stable soil and no large trees nearby can go several years between camera surveys, with only a yearly flow check and a glance at the chambers. An older home with clay or cast iron pipes, mature trees near the lines, or a history of blockages needs a camera survey every one to two years, and a check after any major ground movement or heavy storm.
Trees deserve special attention, because roots are the most common cause of underground drainage failure. Roots enter through joints and hairline cracks, grow inside the pipe, and restrict or block flow. A home with large trees over or near the sewer lateral should have the line scoped regularly, and any root intrusion should be cut and the pipe relined or repaired, because roots always grow back into the same joint. Cutting without repairing guarantees a repeat visit.
Recording Results So the Next Owner — or Plumber — Starts Ahead
An inspection without a record is a wasted inspection. The log should hold the date, the access point, the length of pipe scoped, the defects found with their distance from the access point, the video file, and the recommended action. A simple table, kept with the house records, turns one-off visits into a history that shows whether a belly is growing and whether a repair held.
| Log field | What to write | Why it matters |
|---|---|---|
| Date and access point | When and where the scope started | Locates every finding in time |
| Distance to defect | Metres from the cleanout | Finds the spot without re-scoping |
| Defect and severity | Roots, cracks, belly, scale | Decides repair versus monitor |
| Video file reference | File name and storage location | Proves condition at that date |
| Recommended action | Monitor, clean, repair, replace | Sets the next inspection date |
Keep the videos. A camera survey from three years ago is the baseline that makes today's survey meaningful: the same belly, measured the same way, shows whether it is stable or getting worse. Store the files with the house records, labelled by date and line, and hand the log to the next owner when the house is sold. A buyer who sees a maintained drainage history will pay for the confidence, and a plumber who starts from a good log will charge for the repair, not the investigation.
When Monitoring Points to a Repair: Relining, Replacement, or Rerouting
Monitoring earns its keep when it turns into a decision, and the three repair options are very different in cost and disruption. Relining inserts a resin liner inside the existing pipe, sealing cracks and joints without digging, and it suits pipes that are damaged but still sound. Replacement means excavating the failed section and laying new pipe, which is disruptive but definitive. Rerouting lays a new line on a better alignment, and it is the answer when the old route runs under a new extension or through roots that will never stop growing.
The inspection record should drive the choice, not the contractor's preference. A single crack in an otherwise sound pipe is a relining job. A collapsed section, a severe belly, or a pipe that has lost its shape is a replacement. A line that keeps failing in the same place despite repairs is a rerouting candidate. Get two quotes for any major work, ask each contractor to explain why their method fits the defects on the video, and check that the work will be verified with a post-repair camera survey.
The Cost of Knowing Versus the Cost of Guessing
A drainage inspection network looks like an expense until it is compared with the alternative. A standalone sewer camera survey typically costs a few hundred dollars and takes under an hour, and a yearly routine of chamber checks and flow tests costs little more than the time to do them. An emergency excavation, by contrast, runs into the thousands.
The network also protects the sale of the home. Buyers increasingly ask for a sewer scope before closing, and a seller who can hand over a maintained inspection log with recent video is in a far stronger position than one who cannot. The log answers the buyer's questions before they are asked, and it removes the uncertainty that otherwise becomes a price reduction. Knowing what is underground is an asset.
Residential Drainage Inspection Network FAQs
The questions below cover the practical issues homeowners raise most often about drainage inspection networks.
How often should a residential sewer line be camera inspected?
A newer home with plastic pipes and no large trees nearby can go several years between surveys, with a yearly flow check in between. An older home with clay or cast iron pipes, mature trees near the lines, or a history of blockages should be scoped every one to two years.
What does a sewer camera inspection cost?
A standalone sewer scope typically costs a few hundred dollars, depending on the area and the length of the line, and it usually takes 30 to 45 minutes on site. The fee normally includes the video and a written report. That is a small price compared with an emergency excavation.
Do I need an inspection network if my drains work fine?
Yes, because drains fail silently. Roots, bellies, and cracks develop underground for years before any symptom appears, and by the time a drain is slow or a garden is damp, the damage is established. A network of mapped access points and regular inspections finds problems while they are small.
Can I inspect my own drains without a professional?
Partly. A homeowner can map the access points, check chamber water levels, run dye tests, and keep the log. Camera surveys, flow measurements, and any repair work belong to a qualified plumber or drainage specialist, who has the equipment and training to do the work safely and interpret what the camera shows.
What happens if the camera finds a collapsed pipe?
A collapsed section cannot be relined; it must be excavated and replaced. The camera and locator show exactly where the collapse is and how deep, so the dig is one precise hole rather than a trench along the whole run. Get two quotes, agree on the scope in writing, and ask for a post-repair camera survey.
Final Thoughts: A Drainage Network You Can See Without Digging
A residential drainage inspection network turns the most invisible part of a home into the most manageable one. Map the lines, know the access points, scope the pipes on a schedule, watch the levels between inspections, and keep the record. Do that, and the next drainage problem will be a small repair found early.